Contents
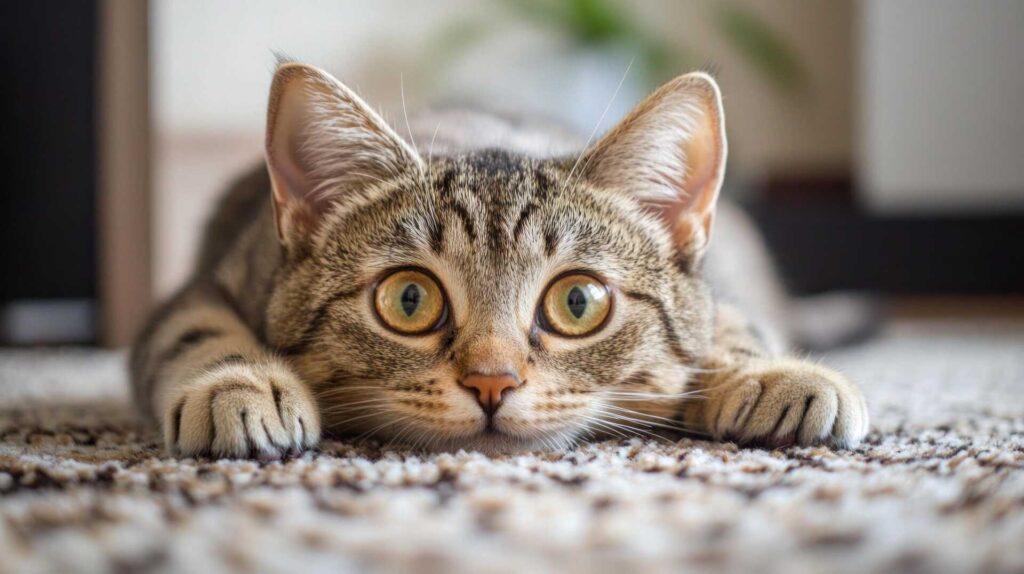
Imagine a scene where your beloved pet has turned your carpet into a canvas of stains. It’s frustrating, but with our expert pet stain removal services, you don’t have to stress. We use proven techniques to eliminate stains and odors, restoring your carpets to their original freshness. From immediate blotting to using household items like vinegar and baking soda, you can restore your home’s freshness. Let’s explore practical solutions that eliminate stains and neutralize odors, ensuring a welcoming space for you and your furry friend.
Key Takeaways
- Act quickly by blotting the stain to prevent it from settling deeper into the fibers.
- Use a vinegar and baking soda solution for effective stain removal and odor neutralization.
- Enzymatic cleaners target organic stains, breaking them down for easier removal.
- For stubborn stains, apply a cornstarch paste to absorb moisture and odors.
- Consider professional steam cleaning for deep cleaning and removing persistent odors.
Blotting the Stain Immediately
When you discover a pet stain, it’s crucial to act quickly, as the sooner you address it, the easier it’s to remove.
Start by gently blotting the area with a clean, dry cloth or paper towel. Avoid rubbing; you want to absorb the stain, not push it deeper into the fibers.
Use effective blotting techniques by applying pressure and shifting to a dry spot on your cloth as it becomes saturated. This way, you enhance stain absorption and lift more of the mess away.
If the stain is particularly stubborn, you may need to blot it multiple times. Remember, patience is key.
You’re not just cleaning; you’re creating a welcoming space for yourself and your furry friend. By tackling stains promptly and effectively, you foster a sense of belonging in your home, ensuring it remains a cozy, happy environment for everyone.
Using White Vinegar and Baking Soda
When tackling those pesky pet stains, using a mixture of white vinegar and baking soda can work wonders.
This powerful combo helps remove stains and neutralizes odors effectively.
Let’s walk through the benefits and the step-by-step application to make your cleaning routine easier.
Benefits of Vinegar Mixture
The powerful combination of white vinegar and baking soda offers an effective solution for tackling tough pet stains. This duo harnesses the vinegar benefits, such as its natural antibacterial properties, making it a safe choice for your home.
When mixed, baking soda enhances the cleaning properties of vinegar, creating a fizzing action that helps lift stains and neutralize odors. You’ll appreciate how this eco-friendly mixture is gentle on your surfaces and safe for your beloved pets.
Plus, it’s budget-friendly! Embracing this method can foster a sense of belonging in your home as you create a clean and welcoming environment for both your furry friends and family.
With this powerful solution, you’ll feel empowered to take on any pet mess.
Step-by-Step Application
To effectively tackle pet stains using white vinegar and baking soda, start by gathering your supplies: a spray bottle, a clean cloth, and a small bowl.
First, mix equal parts of white vinegar and water in the spray bottle. Spray the stained area generously, letting it sit for about 10 minutes.
Next, sprinkle baking soda over the area. You’ll see it fizz; this reaction helps lift the stain. Gently scrub with your cloth, working in circular motions.
Finally, rinse the area with water and blot dry.
For future stains, consider these stain prevention tips, like using fabric protection sprays, to keep your home fresh and welcoming for both you and your furry friend.
Effective Odor Neutralization
One effective method for neutralizing pet odors involves using a simple combination of white vinegar and baking soda.
Start by sprinkling baking soda over the affected area; it’s one of the best odor-absorbing materials around. Let it sit for about 15 minutes to soak up those stubborn smells.
Next, mix equal parts of white vinegar and water in a spray bottle, creating a pet-safe spray. Lightly mist the area where you applied the baking soda. The vinegar helps break down the odor molecules while the baking soda continues its absorbing magic.
After a few minutes, vacuum up the mixture. This method eliminates odors and fosters a fresh, welcoming environment for you and your furry friend.
Enzymatic Cleaners for Deep Cleaning
Enzymatic cleaners are a powerful tool for tackling tough pet stains, as they break down organic matter at the molecular level.
When using these cleaners, it’s important to apply them correctly for maximum effectiveness while keeping safety in mind, especially if you have kids or other pets.
Let’s explore how enzymes work, the best application techniques, and important safety considerations to ensure a clean and safe home.
How Enzymes Work
When it comes to tackling stubborn pet stains, understanding how enzymes work can make all the difference in your cleaning efforts.
Enzymes are natural proteins that speed up chemical reactions, specifically targeting organic materials like urine, vomit, and feces. When you apply an enzymatic cleaner, the enzyme action breaks down these substances into simpler components, effectively aiding stain breakdown and odor removal.
This means you’re not just masking the problem; you’re eliminating it at the source. By choosing an enzymatic cleaner, you’re caring for your home and creating a healthier environment for your beloved pet.
Embracing this approach can foster a sense of belonging, knowing you’re using effective methods to maintain a clean space for everyone.
Application Techniques
Understanding how enzymes break down pet stains is just the beginning; knowing how to apply enzymatic cleaners can maximize their effectiveness.
Start by blotting the stain gently with a clean cloth, ensuring you don’t rub it deeper into the fibers. Next, apply the enzymatic cleaner liberally, covering the entire stained area. Let it sit for the recommended time; this allows the enzymes to work their magic.
For stubborn stains, you might need to repeat the process. Afterward, rinse the area with clean water and blot again.
To enhance stain prevention, consider using these cleaners regularly, even on spots that seem clean. Following these application tips helps remove stains and fosters a fresher home for you and your beloved pet.
Safety Considerations
While tackling pet stains can feel overwhelming, it’s crucial to prioritize safety when using enzymatic cleaners for deep cleaning.
These cleaners are effective but can contain strong ingredients. Always check labels for any allergens or harmful substances, confirming you’re choosing pet-safe options.
Before applying, test the cleaner on a small, inconspicuous area to avoid damaging your surfaces.
Keep your furry friends out of the cleaning zone until everything’s dry to protect their safety. Use gloves to shield your skin and consider wearing a mask if you’re sensitive to scents or chemicals.
Club Soda for Quick Fixes
If you find yourself in a pinch with a fresh pet stain, club soda can be your best ally. Its fizz helps lift stains effectively, making it a quick fix for those unexpected messes. When you pour club soda on the stain, the carbonation works to break down the particles, allowing you to blot them away with a clean cloth.
Club soda’s effectiveness is particularly notable on carpets and upholstery, as it masks and neutralizes odors.
Plus, using sparkling water benefits you by avoiding harsh chemicals that could harm your home environment.
To make the most out of this technique, act fast—blot the stain gently instead of rubbing, and you’ll have a much better chance of saving your fabric.
Hydrogen Peroxide Solution
When it comes to pet stain removal, hydrogen peroxide can be a powerful ally if used correctly.
You’ll want to pay attention to the ideal concentration levels to avoid damaging your surfaces, and I’ll show you some effective application techniques.
Let’s make sure you tackle those stains safely and efficiently!
Ideal Concentration Levels
The ideal concentration level for a hydrogen peroxide solution in pet stain removal typically falls between 3% and 10%. Using the right concentration ensures effective stain removal while protecting your surfaces. Here’s a quick reference table to help you find the best mixture proportions:
| Concentration | Ideal Dilution Ratio |
|---|---|
| 3% | 1 part hydrogen peroxide to 3 parts water |
| 5% | 1 part hydrogen peroxide to 2 parts water |
| 7% | 1 part hydrogen peroxide to 1 part water |
| 10% | Use directly or dilute as needed |
Application Techniques Explained
To effectively tackle pet stains with a hydrogen peroxide solution, it’s crucial to approach the application methodically.
Start by identifying the stain types—whether it’s urine, feces, or vomit—so you can treat them appropriately. Gather your cleaning tools like a spray bottle, soft cloth, and a scrub brush.
Mix your hydrogen peroxide with water in the spray bottle, ensuring the concentration is safe for your surfaces. Generously apply the solution to the stained area, allowing it to penetrate for several minutes.
Gently blot the stain with a cloth, working from the outside in. Rinse the area with water and dry it thoroughly.
Dish Soap and Warm Water Mix
A simple yet effective solution for pet stain removal is a mix of dish soap and warm water. This combination harnesses the dish soap benefits you need, providing a gentle yet powerful cleaning action. Warm water effectiveness enhances the solution, allowing it to penetrate deeper into fabrics, loosening stubborn stains.
Here’s a quick overview of how this mix works:
| Component | Benefits |
|---|---|
| Dish Soap | Breaks down grease and stains |
| Warm Water | Activates cleaning agents |
| Easy to Prepare | Just mix and go! |
| Safe for Most Fabrics | Gentle on your home surfaces |
To use this mix, apply it directly to the stain, gently blot with a clean cloth, and rinse with cold water. This technique helps your home look its best and fosters a clean and welcoming environment for everyone in your space.
Cornstarch Paste Application
When faced with stubborn pet stains, cornstarch paste can be a surprisingly effective solution. To create this paste, mix cornstarch with a small amount of water until you achieve a thick, spreadable consistency. One of the cornstarch benefits is its ability to absorb moisture and odors, making it ideal for tackling those challenging stains.
Once your paste is ready, apply it generously over the stained area and let it sit for about 15 to 30 minutes. This allows the cornstarch to work its magic, drawing out the stain and any lingering smells.
After the time has passed, simply vacuum or brush away the dried paste. You’ll likely find that the stain has lightened or disappeared entirely.
Using this method helps maintain your home’s cleanliness and fosters a sense of belonging by creating a welcoming environment for you and your furry friends.
Rubbing Alcohol Treatment
Rubbing alcohol can be a powerful ally in your battle against pet stains, especially those caused by urine or feces. Its rubbing alcohol effectiveness lies in its ability to break down stubborn odors and stains.
To use it, simply mix equal parts rubbing alcohol and water in a spray bottle. Lightly mist the stained area, then blot with a clean cloth. You’ll notice the stain lifting, and the unpleasant smell fading away.
For those who prefer rubbing alcohol alternatives, white vinegar and baking soda can also work wonders. Vinegar neutralizes odors while baking soda absorbs moisture and stains.
Experiment to find the best solution for your home, but don’t underestimate the power of rubbing alcohol in tough situations. Remember, you’re not alone in this journey; many pet owners face similar challenges, and finding the right techniques can bring you comfort and a cleaner space for you and your furry friend.
Professional Steam Cleaning
Sometimes, despite your best efforts with techniques like rubbing alcohol, stubborn pet stains just don’t budge. When this happens, it might be time to contemplate professional steam cleaning.
This method tackles tough stains and deep cleans your carpets, eliminating odors and allergens. Steam cleaning has significant benefits; it uses high temperatures to break down dirt and bacteria, ensuring a thorough clean that regular methods might miss.
Hiring professional services can save you time and effort, allowing you to focus on what truly matters—enjoying your home and your pets.
Plus, experienced technicians know the best practices to protect your carpets while effectively removing stains. You’ll find peace of mind in knowing your living space is clean and welcoming.
Carpet Shampooing Techniques
Revitalize your carpets with effective shampooing techniques designed to tackle pet stains and odors.
First, identify your carpet types—synthetic fibers often respond well to standard shampoos, while natural fibers may require gentler solutions. Before you start, vacuum thoroughly to remove loose dirt and debris.
Mix your chosen carpet shampoo according to the instructions, and test it on a small, inconspicuous area first. Apply the solution using a carpet shampooer or a soft brush, focusing on stained areas without over-saturating the carpet. Let it sit for a few minutes to break down those stubborn odors.
For best results, aim to shampoo your carpets every six months or more frequently if you have pets. This regular cleaning frequency keeps your home smelling fresh and strengthens your bond with your furry friends.
With these techniques, you’ll create a welcoming space for everyone.
Review
With these top 10 techniques at your fingertips, tackling pet stains becomes a breeze—like finding a hidden treasure in your home. Remember, quick action and the right methods can turn a potential disaster into a clean slate. Don’t let those pesky stains linger; with a little compassion for your furry friend and a practical approach, you can restore your space to its former glory. Your home deserves to be inviting for both pets and family alike!
Recent Posts
Sustainable Carpet Cleaning Techniques for Your Home
When it comes to keeping your home clean, sustainable carpet cleaning techniques can make a
Why Choose Eco-Friendly Carpet Cleaning Methods?
Imagine stepping onto a carpet that feels fresh and clean, without the lingering scent of
What Are Eco-Friendly Carpet Cleaning Techniques?
When it comes to maintaining your carpets, eco-friendly techniques offer a sustainable alternative to traditional